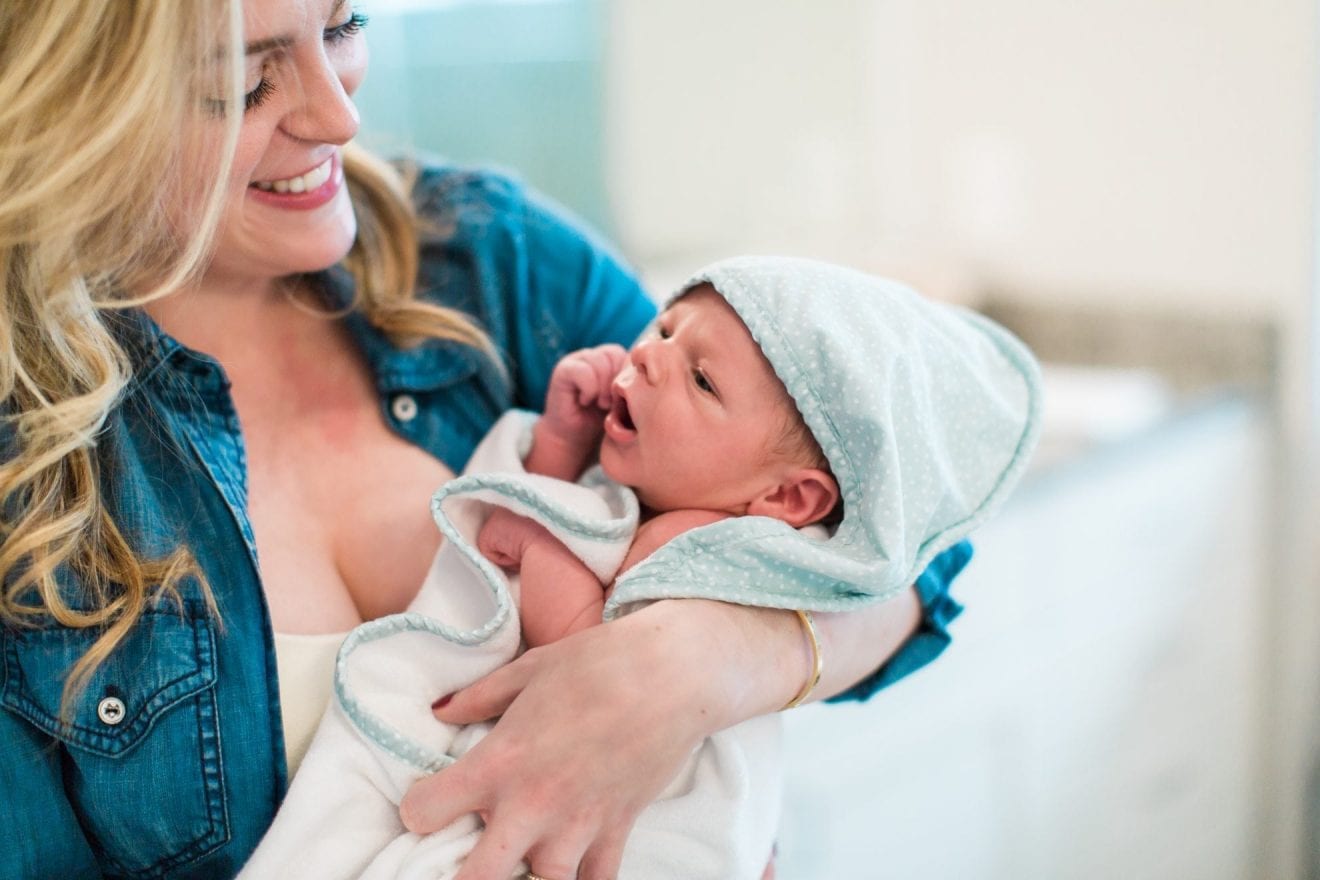
There is perhaps no image more synonymous with a newborn than a “baby burrito.” Every hospital movie and stock photo features a perfectly wrapped, sleeping infant. But for new parents, the reality of swaddling can feel like a high-stakes game of origami—one played at 3:00 AM with a crying, wiggling opponent.
If you’ve ever felt defeated by a loose blanket or worried that your wrap is too tight (or too loose), you aren’t alone. In the context of urban baby living, where space is tight and stress can run high, mastering the swaddle is a foundational skill. It is one of the most effective newborn basics for extending sleep stretches and calming a frantic baby.
By stripping away the confusion and focusing on the biological “why” and the safety “how,” you can turn swaddling from a chore into a reliable tool in your parenting kit.
Why Do We Swaddle? (The Science of the Snug)
To understand why swaddling works, we have to look at the environment your baby just left. For nine months, they were contained in a warm, tight, rhythmic space. Sudden freedom of movement is actually quite startling to a newborn.
The primary reason for swaddling is to suppress the Moro Reflex (the startle reflex). This is a primitive survival mechanism where a baby feels like they are falling and throws their arms out wide. In an open crib, this reflex often wakes a baby up just as they are drifting into deep sleep. By gently containing the arms, the swaddle prevents this involuntary jerk, allowing for better sleep and soothing.
According to the American Academy of Pediatrics (AAP), swaddling can be a safe and effective way to help babies sleep, provided it is done correctly and with a focus on safe sleep environments.
The Traditional “Square” Method: A Step-by-Step
If you are using a traditional muslin or cotton square, the goal is “snug on top, loose on the bottom.” Here is the most common, confusion-free method:
- The Diamond: Lay the blanket flat in a diamond shape and fold the top corner down about 6 inches.
- Placement: Lay the baby on the blanket with their neck right at the fold.
- Right Side: Pull the baby’s right arm down slightly. Take the right side of the blanket, pull it snugly across the chest, and tuck it under the baby’s left side.
- The Bottom: Fold the bottom of the blanket up over the feet. Important: Leave plenty of room for the hips to move (more on this below).
- Left Side: Pull the baby’s left arm down. Take the remaining left side of the blanket, pull it across the chest, and wrap it all the way around, tucking it into the fold you created.
The “Hip-Healthy” Rule: Avoiding the Tight-Leg Trap
The biggest mistake parents make with swaddling is wrapping the legs too straight or too tight. A baby’s hip joints are soft and still developing. If the legs are forced into a straight, “picket fence” position, it can lead to hip dysplasia.
A safe swaddle should allow the baby’s legs to bend up and out at the hips—a position often called the “frog leg” position. You should be able to fit two to three fingers between the baby’s chest and the swaddle, but the bottom half should be loose enough that the baby can kick their legs freely.
Choosing Your Tools: Wraps vs. Blankets
In a small apartment, you want baby gear essentials that work every time without a struggle. If the “square blanket origami” is causing you stress, don’t be afraid to use modern shortcuts.
- Velcro Swaddles: These are the “cheat codes” of parenting. They use wings and Velcro tabs to ensure a snug fit that won’t come undone when the baby wiggles.
- Zipper Swaddles: These “sleep bags” allow the baby to keep their arms in a more natural “up” position while still providing the containment needed to dampen the startle reflex.
- Muslin Squares: Still the gold standard for versatility. They are breathable, which is essential for maintaining a clean and safe home environment, especially in older buildings that might run warm.
Safety Checkpoints: When to Stop
The most critical swaddling rule involves the baby’s development. The moment your baby shows any signs of trying to roll over—usually between 2 and 4 months—you must stop swaddling the arms immediately. A swaddled baby who rolls onto their stomach is at a high risk because they cannot use their arms to push their head up or roll back.
If you’re worried about the transition, many parents move to “arms-out” sleep sacks. You can find more tips on this transition in our blog archives.
Swaddling and Feeding Logistics
A common question we see in our faq is: “Should I swaddle my baby while they eat?” Generally, the answer is no. During feeding and milk prep, you want the baby to be alert and using their hands to explore. Being unswaddled during a feed also prevents the baby from getting too warm and sleepy before they’ve had a full meal. Once the feeding and burping are done, the swaddle becomes the “signal” that it is time to transition back to sleep.
The Role of Postpartum Support
Learning to swaddle is a perfect task to delegate to your postpartum support person or partner. It allows them to be the “hero” of the soothing process.
“My husband became the ‘Master of the Swaddle,'” says Clara, a mom in a Brooklyn one-bedroom. “I would handle the nursing, and he would take over the wrap and the rock. It gave him a specific way to bond and gave me a break from the physical intensity of the fourth trimester.”
Summary: Focus on the Feel, Not the Look
A “perfect” swaddle isn’t one that looks like a professional photo; it’s one that is safe and effective for your baby.
- Snug on the arms to stop the startle.
- Loose on the hips for healthy joints.
- Breathable fabric to prevent overheating.
- Back to sleep every single time.
By keeping these basics in mind, you can remove the confusion from your nighttime routine and help your baby find the comfort they need to rest.
If you’re still struggling with a “Houdini” baby who breaks out of every wrap, or if you need a recommendation for the best swaddle for a small-space nursery, please contact us. We’ve helped thousands of parents find the right fit for their little ones.